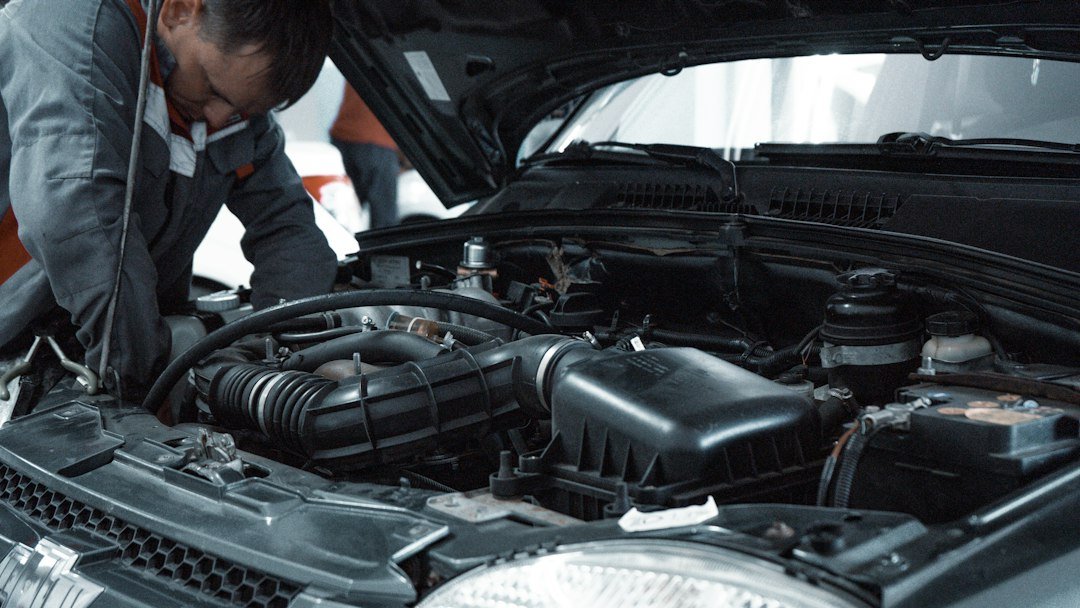
A typical dipstick check involves parking on level ground, following the manual’s engine-temperature and waiting instructions, then wiping, reinserting and reading the dipstick. Compare the reading with its marked range. Confirm the procedure for your exact engine before adding oil.
Some vehicles measure oil electronically and do not have an owner-accessible dipstick. A general article cannot supply one checking temperature, waiting time or top-up amount for every car.
Start with the correct instructions
Find the engine-oil section in the manual for your model year, engine and market. Identify the dipstick and oil filler using the manual’s diagram, rather than assuming every brightly coloured handle has the same purpose.
The variation between manuals matters. Volvo’s V70 oil-checking instructions describe level ground and a waiting period after a warm engine is switched off. Its 2015 XC60 instructions distinguish dipstick and electronic systems and give their own checking conditions. These examples demonstrate why a procedure must match the vehicle.
Prepare before opening the hood
Have the manual and a clean, lint-free cloth available. Park securely on a level surface and follow the specified engine state and waiting time. Give yourself enough light to identify the marks without leaning against hot components.
If you plan to top up, confirm the required oil before you begin. Use our oil grades guide to understand a label, then check the complete specification in the vehicle documentation. A familiar bottle is not enough to identify the right product.
The basic dipstick sequence
- Locate the correct dipstick. Use the manual’s engine-compartment illustration and confirm that the checking conditions have been met.
- Remove and wipe it. Use the clean cloth to clear the existing oil film from the measuring end.
- Reinsert it completely. Seat the dipstick as the manufacturer describes before taking the reading.
- Remove it again and read the level. Compare the visible oil boundary with the indicated MIN and MAX marks or the equivalent marked area.
- Finish according to the manual. Refit the dipstick securely. If the reading calls for action, follow the specified oil and filling instructions.
This sequence explains the task rather than replacing a vehicle-specific procedure. The linked V70 instructions provide a manufacturer example of wiping, reinserting and reading the dipstick.
What the marked range tells you
The marks show the range used to interpret that dipstick. They are not a universal measuring jug: do not assume that MIN to MAX represents the same quantity on every engine. An unclear smear is not a dependable volume measurement either.
If you cannot obtain a clear, repeatable reading, review the checking conditions and seek appropriate help instead of repeatedly adding oil. If a level is outside the permitted range, follow the manual’s instructions for that condition.
Volvo’s XC60 guidance warns against filling above MAX and against spilling oil on a hot exhaust manifold. Keep those practical risks in mind while following the procedure for your own car. A larger top-up is not automatically a better result.
If your car uses an electronic display
Use the display instructions for your exact system. The 2018 Volvo XC90 manual, for example, describes an electronic sensor and explains that a reading can be unavailable when the required conditions are not met.
An electronic system may also need particular conditions before it reflects a change in oil quantity. Do not keep topping up simply because the display has not immediately changed. Read the message and use the manufacturer’s specified response and quantity.
Keep a simple checking record
After a check, note the date, odometer reading, result and any oil added. Record the product and amount rather than writing only “topped up.” This is useful context if you later need to discuss repeated changes in level with a workshop.
An oil-level check is not an oil change, and this guide does not diagnose a warning light. For an active warning or another mechanical concern, follow the vehicle’s instructions and obtain suitable assistance.
Common questions
Should the engine be hot or cold?
Use the checking conditions in your manual. The manufacturer examples above show why a single temperature or waiting rule should not be applied to every engine.
How much oil should I add?
Use the instruction that applies to your vehicle and reading. This guide intentionally gives no universal top-up quantity.
Does using synthetic oil change the checking procedure?
Follow the vehicle’s procedure. A formulation label does not replace its measuring instructions. Read synthetic versus conventional oil if you are comparing those labels.
Sources and scope
The linked Volvo manuals are examples of manufacturer instructions, not a claim that every vehicle uses a Volvo procedure. This article explains routine checking principles. Use the matching documentation for your own vehicle and report possible corrections through our contact page.